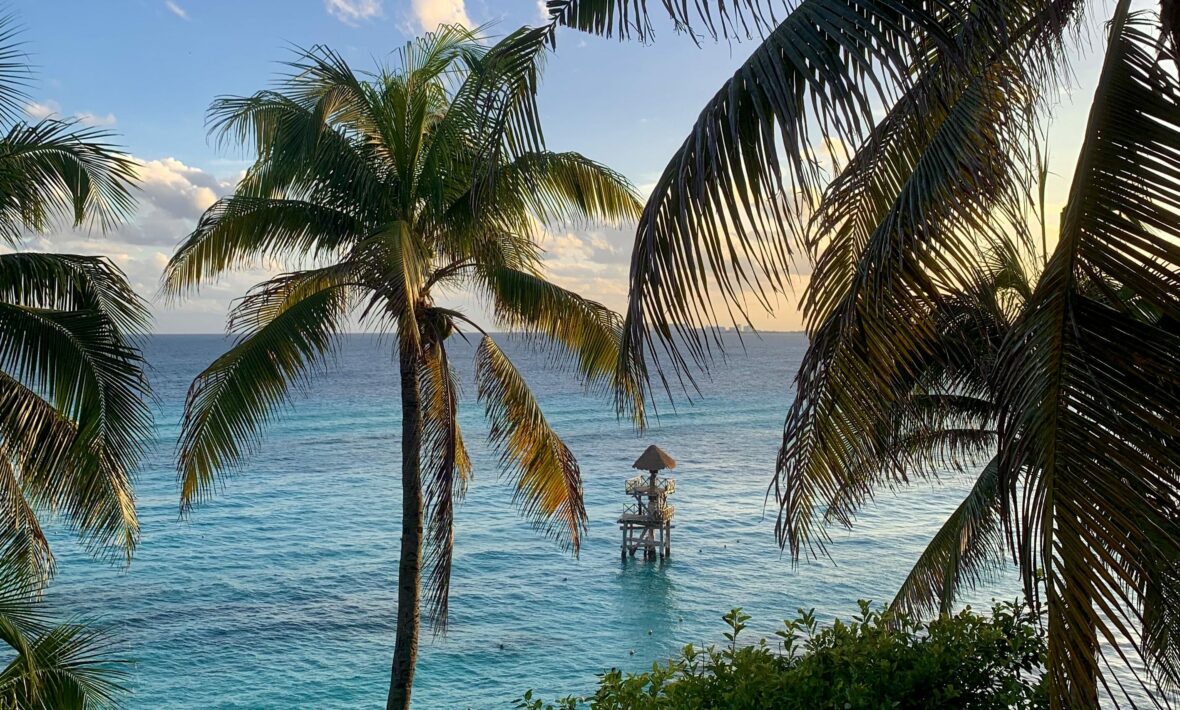
 Photo: Jonas Puidokas & Zoé Gasc Winter
Table of Contents
In today’s visually driven world, capturing your travels is essential and the perfect photo at popular tourist destinations can turn a simple snapshot into a lasting memory which has become an essential part of the travel experience. Whether you’re sharing your journey on social media or preserving memories for yourself, understanding how to enhance your photography skills is a must and can make all the difference when it comes to documenting your experiences.
With the right techniques, even a crowded landmark or a tricky lighting situation can be transformed into a breathtaking image. And so without further ado, we would like to guide you through the best tips and tricks for using both smartphones and cameras for your travel photography, and ensuring that your travel photos not only capture the moment but tell a story worth sharing.


Phone photography
1. Set up
Okay let’s be honest, today’s phones are great and are equipped with everything that you would ever need to take beautiful photos while on the go. Photography has become more accessible than ever, allowing you to perfectly capture memories with ease, and all this can be done with only a few small setting tweaks, so allow us to further explain.
Grids
In order to have a good-looking photo, a tasteful composition is recommended by positioning the subject within the frame of the grid lines. This is also the perfect instrument to stabilise your horizon, ensuring a well-aligned shot to contribute to a visually appealing shot.
For instance, if you place your subject in the middle of those lines then it allows it to look perfectly symmetrical while placing it on the bottom third will make the place feel very big as you will then reveal a lot more negative space in the background. These assisting grid lines are available on all phones and can be turned on inside your camera’s settings. We will touch more on this later in the article.
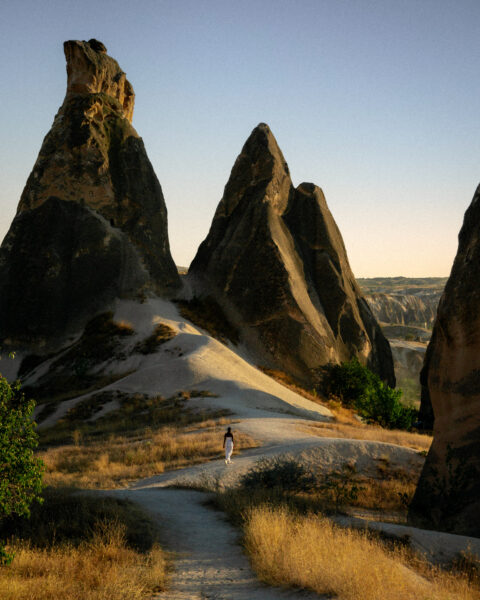
Image source:Jonas Puidokas & Zoé Gasc Winter
Image source:Jonas Puidokas & Zoé Gasc Winter
Image source:Jonas Puidokas & Zoé Gasc Winter
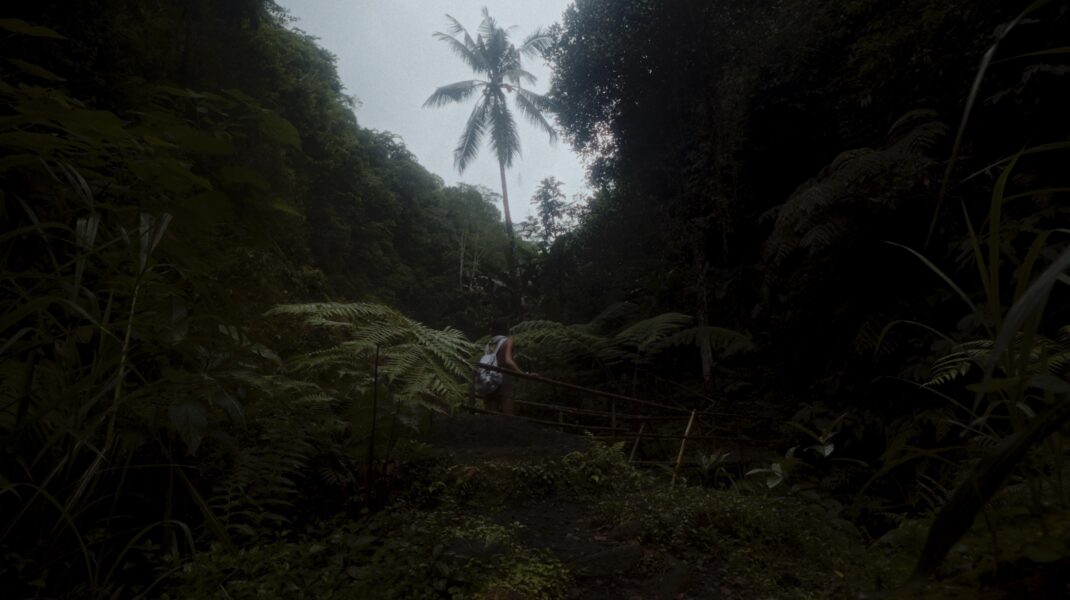
Image source:Jonas Puidokas & Zoé Gasc Winter
Natural lighting
Next up, let’s touch on natural light and how important this is. Natural light allows you to see the greater picture along with all the details in it too. And the best way to preserve this is by removing all filters and turning off portrait mode. This is necessary so you can truly capture the essence of these landmarks.
You might be thinking ‘surely portrait mode is the most helpful tool when capturing people’, and we fully agree, however, when photographing landmarks, a large amount of the details are in the background and will be lost due to the shallow depth of field effect which will blur those intricate features.

RAW
This is something that shocked us when we found out, but did you know that most phones can now shoot in RAW? And to anyone who might not be familiar with this term, RAW means that your camera is able to capture a full uncompressed image that the sensor sees as opposed to a JPG image which is a much smaller file that is far more compressed and more difficult for editing. But in simple terms, this means that photos are shot in the highest possible image quality and can retain all the details and have amazing colour accuracy, too. The RAW photos feature is something that must be activated to be able to capture all the data without having it compressed. This can be found in your camera settings page too, but be wary as RAW photos can take up a lot more storage on your phone. Though the benefits of this mode outweigh everything else.
RAW photos are extremely useful, especially in challenging lighting situations where they will retain a wider dynamic range making it easier to recover details in highlights and shadows when editing. Not only will RAW files capture the core of those places you want to remember, but they will allow you to adjust the photo exactly how you want it by playing with exposure, contrast, or even sharpness without degrading image quality. Modifying these settings will for sure bring an enhanced visual appeal to your photography because you can clarify and highlight important elements for the subject to stand out, create a specific style, or even improve the overall balance by refining the image’s brightness, color, and tone.
Once you have those parameters up, then you’re ready to take the best photos with the most amazing quality you could ever imagine on a phone.
2. Framing
Captivating people’s eyes with a photograph will depend on how it’s framed and shot. And the best way to do this is by finding a natural frame within the photo. Something we do all the time. However, this can be quite challenging in popular tourist spots as you will have to adapt to your surroundings without being able to move the subject. This can be traffic, people, or even unpleasant objects, however, once those elements are eliminated then the focus on the subject into the frame can begin.
The grid lines tool which we previously turned on proves itself priceless in situations like this as it gives you a chance to visually see the rule of thirds. But what is the rule of thirds? Simply put, it’s a fundamental concept in photography that is about dividing your image into nine equal parts, creating a grid, so the subjects or key elements can be placed along the grid lines and intersections to create a balanced and dynamic photograph. The rule will significantly enhance your photographs as it will create a natural point of interest in the photograph.
With this rule, you can play with the subject you have in your frame, and see what different effects you gain by placing it in different spots. For instance, a subject in the middle of the frame will give you a very balanced-looking image, but if we tilt the camera up a little more and place the subject on the bottom grid line then it will give the photo a much larger feeling as we introduce a lot more negative space making everything feel wider than what it really is.
Experimenting with different techniques will help create a highlight on what you want to capture because the landmark will stand out more in different settings. This will also reduce distraction thus viewers will be more focused on the main landmark of the photograph. Those not-very-crowded and empty backgrounds can also be useful to craft a mood for your pictures depending on the story you’d like to convey through it. More negative space will evoke a minimalist and solitude sentiment, while a hectic surrounding can create a more dynamic feel.

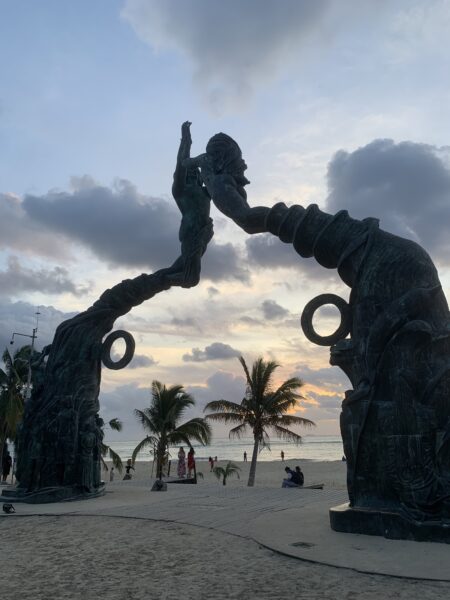
Image source:Jonas Puidokas & Zoé Gasc Winter
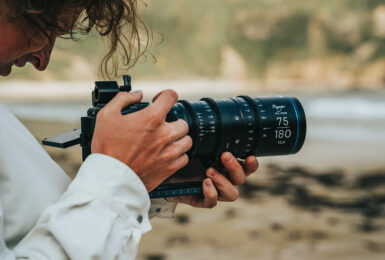
Pro camera photography
Having explored what’s achievable with a phone, let’s now dive into the world of professional cameras and discover how they can expand your creative possibilities even further. While the basic principles remain the same with familiar settings such as exposure or focus, professional cameras will offer more options and greater control to further refine your skills and capture even more stunning images. So without further ado, let’s dive right into what these cameras can do for us.
1. Aperature
The aperture is a setting that allows photographers to control the amount of light entering the camera through their lens. Measured by f-stops, this means that the lower the f-stop is, then the more light the camera will let in, making your image brighter. On the contrary, the higher the f-stop is, the darker the image will be as a result.
But the aperture will not just affect the amount of light entering the camera it also influences the depth of field which means how much of the scene is in the focus. By controlling this depth of field you can then decide on your image’s sharpness. This gives you the power to determine how well-defined and crisp the edges, textures and details in the image will appear.
If your goal with the photograph is really to make the landmark stand out, then I would recommend using a larger aperture which will create a shallow depth of field, thus making the subject sharp revealing its finest details and contours while the background is made blurry. This would also be our preference as it will help hide any distractions in the background while maintaining focus on what is most important, which is the beautiful landmark.


2. Lenses
What is also important to note is that your choice of aperture will also be influenced by the lenses you use, and since each landmark presents unique challenges, selecting the right lens is crucial for capturing the best images. So allow us to give you a quick crash course on what lenses will work best in their respective situations and locations.
Let’s begin with wide lenses that have a focal length between 14mm and 35mm. Those wide-angle lenses usually come with a deep depth of field which will allow them to have most background elements in focus. This is useful when you want both the foreground and background to be sharp, something that is especially useful in street and landscape photography. It’s truly perfect when traveling through narrow old town streets in Dubrovnik, Croatia. A city so beautiful but also so hard to document due to its tight streets.
Next up, medium lenses between 35mm and 85mm have the best focal length for both capturing the landmark and the details. With those tighter lenses, the shallow depth of field is higher, giving a nice natural background blur and a focus on features. Keeping those details and textures in a photograph is important as it brings a sense of realism into it. Textures allow us to perceive the roughness of stone walls, the intricate patterns of mosques, and the softness of fabric, making the image more lifelike and visually engaging by adding complexity and drawing attention to the subject’s unique characteristics. While in tourist hot spots, those lenses will allow you to mask more people out of the frame which is very convenient to have a perfect photo of the landmark.
Last but not least, telephoto lenses past 85mm are suitable for effectively isolating the subject from the background while being quite far away from it due to a shallow depth of field. They’re designed to compress the perspective and to bring distant subjects closer together with clarity. These are perfect in mountainous regions to add layers and depth to your photos however they fall short in busy cities like Istanbul. Due to their long focal lengths, telephoto lenses are more susceptible to camera shake, which can lead to blurry images and they are quite large and heavy, making them less portable and more awkward to handle. So our advice is to make sure you have either steady hands or a small tripod handy when framing up those unique shots.
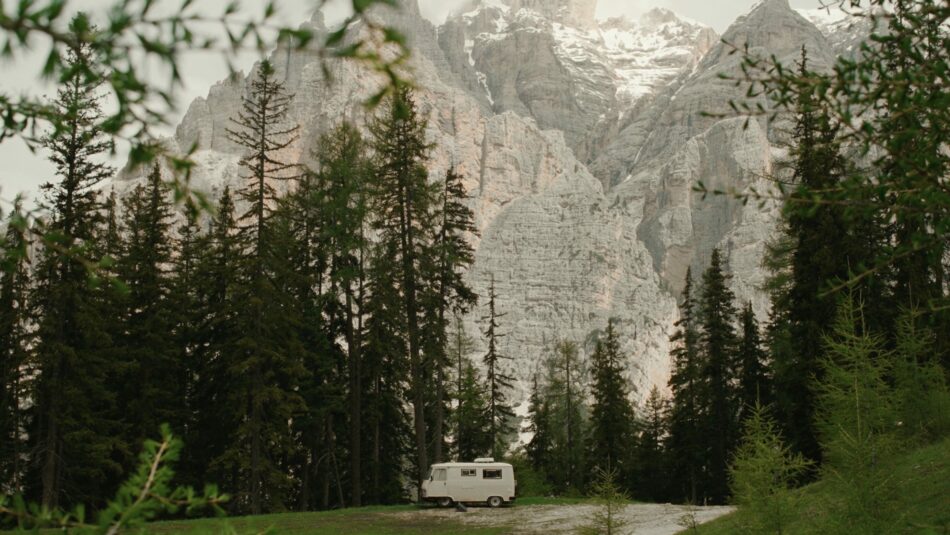
Image source:Jonas Puidokas & Zoé Gasc Winter
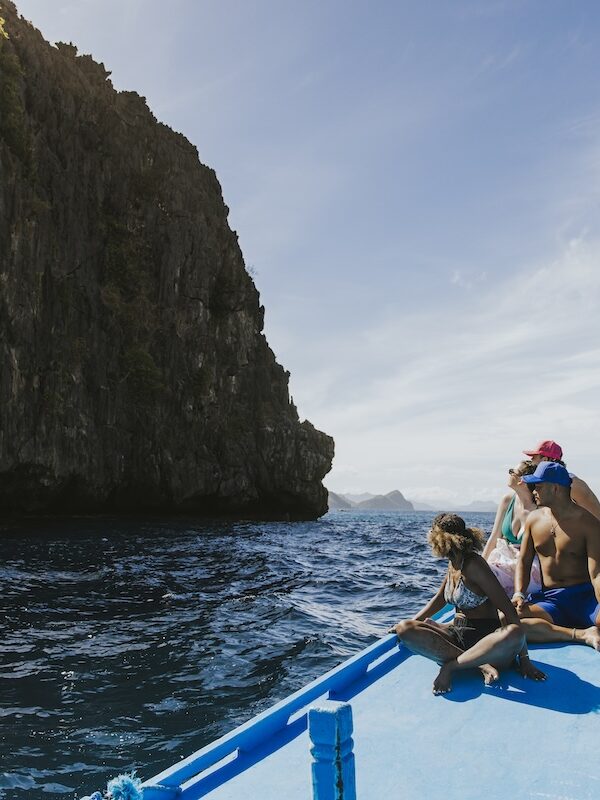
How to make landmarks look less full
Contrary to what many might assume, avoiding people in your photographs is often simpler than it appears. With a few strategic techniques and a bit of planning, you can capture your desired scene with minimal human interference. So let’s have a look at what we think works best.
Travel off-season
An effective trick to avoid crowds and enjoy a more relaxed experience in popular locations is to plan your travel during the off-season… basically avoiding summer. During this period you will be able to capture landmarks and scenic spots without the distraction or obstruction of large crowds as many people will be back at work or school, offering you the chance to enjoy a quieter and more peaceful atmosphere. This will allow you to have cleaner shots with prettier compositions as you won’t have to fight for your photo spot with other tourists. Also, this period will offer a unique perspective as you will see scenery that is not typically seen during peak season.
Wake up early
This might be our favourite trick especially if travel during the off-season isn’t possible: wake up before everyone else. Yep, it’s that simple. Most tourists who are on vacation will probably choose to party and sleep in ‘till late while they are away and for you, this will be great as waking up early can offer you a privileged moment with a popular location or attraction. And not to mention, you can also witness a stunning sunrise and enjoy the morning golden hour, which adds warm tones, depth, and a serene atmosphere to your photographs.


Embrace the crowds
But, if traveling off-season and waking up early are not doable options, then it’s best to just embrace the crowds in the frame. Don’t hide them but instead use them as extra layers to the photo. This is what we do when we are stuck in situations like this.
We start by referring back to the rule of thirds and by placing people along the lines or at intersections without making them the main focus. Manipulating the layers in the photograph is also a technique to include people without having them overwhelm the scene, it’s a good challenging situation where you can get creative with your frame. Another approach is to divide the frame into three sections: then place the crowd at the bottom, the attraction or monument in the middle, and let the sky occupy the top of the frame. This composition balances the elements and keeps the focus on the main subject as our eyes are naturally drawn to the centre of any frame.
Not only is getting creative with the framing a possibility, but getting creative with alternative spots can make the photograph even more memorable. Everyone is good at going to the spot to take the same picture but finding another angle with an unusual perspective is what will make your photo stand out and make it special.
Editing advice
1. Mobile editing
While capturing a great photo is just the beginning, editing is where you can truly elevate your images to the next level. With any phone, be it an Android or iPhone, you now have powerful editing tools right at your fingertips, making it easy to perfect your photos directly from your phone. What we enjoy most in photo editing is experimenting with the tones and adjusting everything around it. So allow us to share a small insight into how we would edit a photo within the gallery app on your phone.
We often start by increasing the exposure to brighten the image, then carefully lower the highlights and whites to bring out the finer details. To add texture and depth, you can enhance the shadows and contrast. Depending on the colours in the shot, you can also boost saturation and vibrancy to intensify the photograph. However, if there’s a cloudy sky in the frame, we avoid overdoing it to maintain a natural look. Once all adjustments are in place, then you can refine the exposure, dialing it back down to achieve a balanced, realistic result. This approach brings out the details, textures, and intensity while preserving a natural effect.
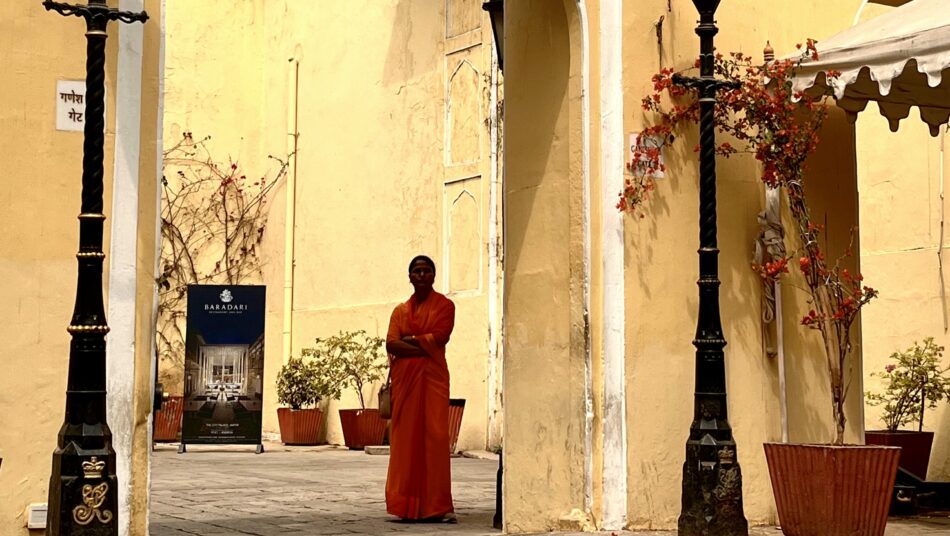
Image source:Jonas Puidokas & Zoé Gasc Winter
2. Desktop editing
When editing photos taken with a professional camera, several software options are available to help correct imperfections, enhance storytelling, maximize image potential, or simply express your artistic vision.
We recommend using Lightroom on a computer, as it excels at processing RAW files, providing full control and flexibility over your edits. Lightroom also offers robust workflow management and organizational tools, making it easy to handle large collections of images efficiently. Additionally, if you have a signature style or a consistent aesthetic that you want to apply across a series of photographs, Lightroom supports profiles and presets, allowing you to achieve your desired look with just a single click.
Ultimately, Lightroom’s powerful tools and effortless process make it an invaluable asset for refining your images and ensuring that your artistic vision comes to life with every edit. And if you are looking for step-by-step tutorials on how you can make the most of this program and how you can edit your stunning photos, well then you’re in luck as there are millions of tutorials on the internet for virtually any look you want to achieve while using Lightroom.
Let’s be honest, In the end, we all know it’s not about the camera you use—whether it’s a professional one or a simple smartphone. Photography is about capturing the essence of your journey and the world around you. As you travel to popular tourist destinations or discover new hidden gems, remember to focus on the experiences, the moments, and the landmarks that speak to you. Don’t let the gear define your creativity; instead, immerse yourself in the adventure and let your photos tell the story of your life as you live it. Embrace the joy of witnessing and documenting the world, and let your unique perspective shine through, regardless of the equipment in your hands. And remember to just have fun while doing that, after all, isn’t that what travel is all about?