- Master the check-in process
- Get through the security screening
- Be ready for the customs and border protection process
- Find your gate
- Boss your connecting flight (if you have one)
- Arrive in style!
- Practical tips for when you’re flying alone for the first time
- Ask, ask, ask!
- Arrive early
- Keep your tummy happy
- Charge your phone
- Take a deep breath
- Pack your bags…
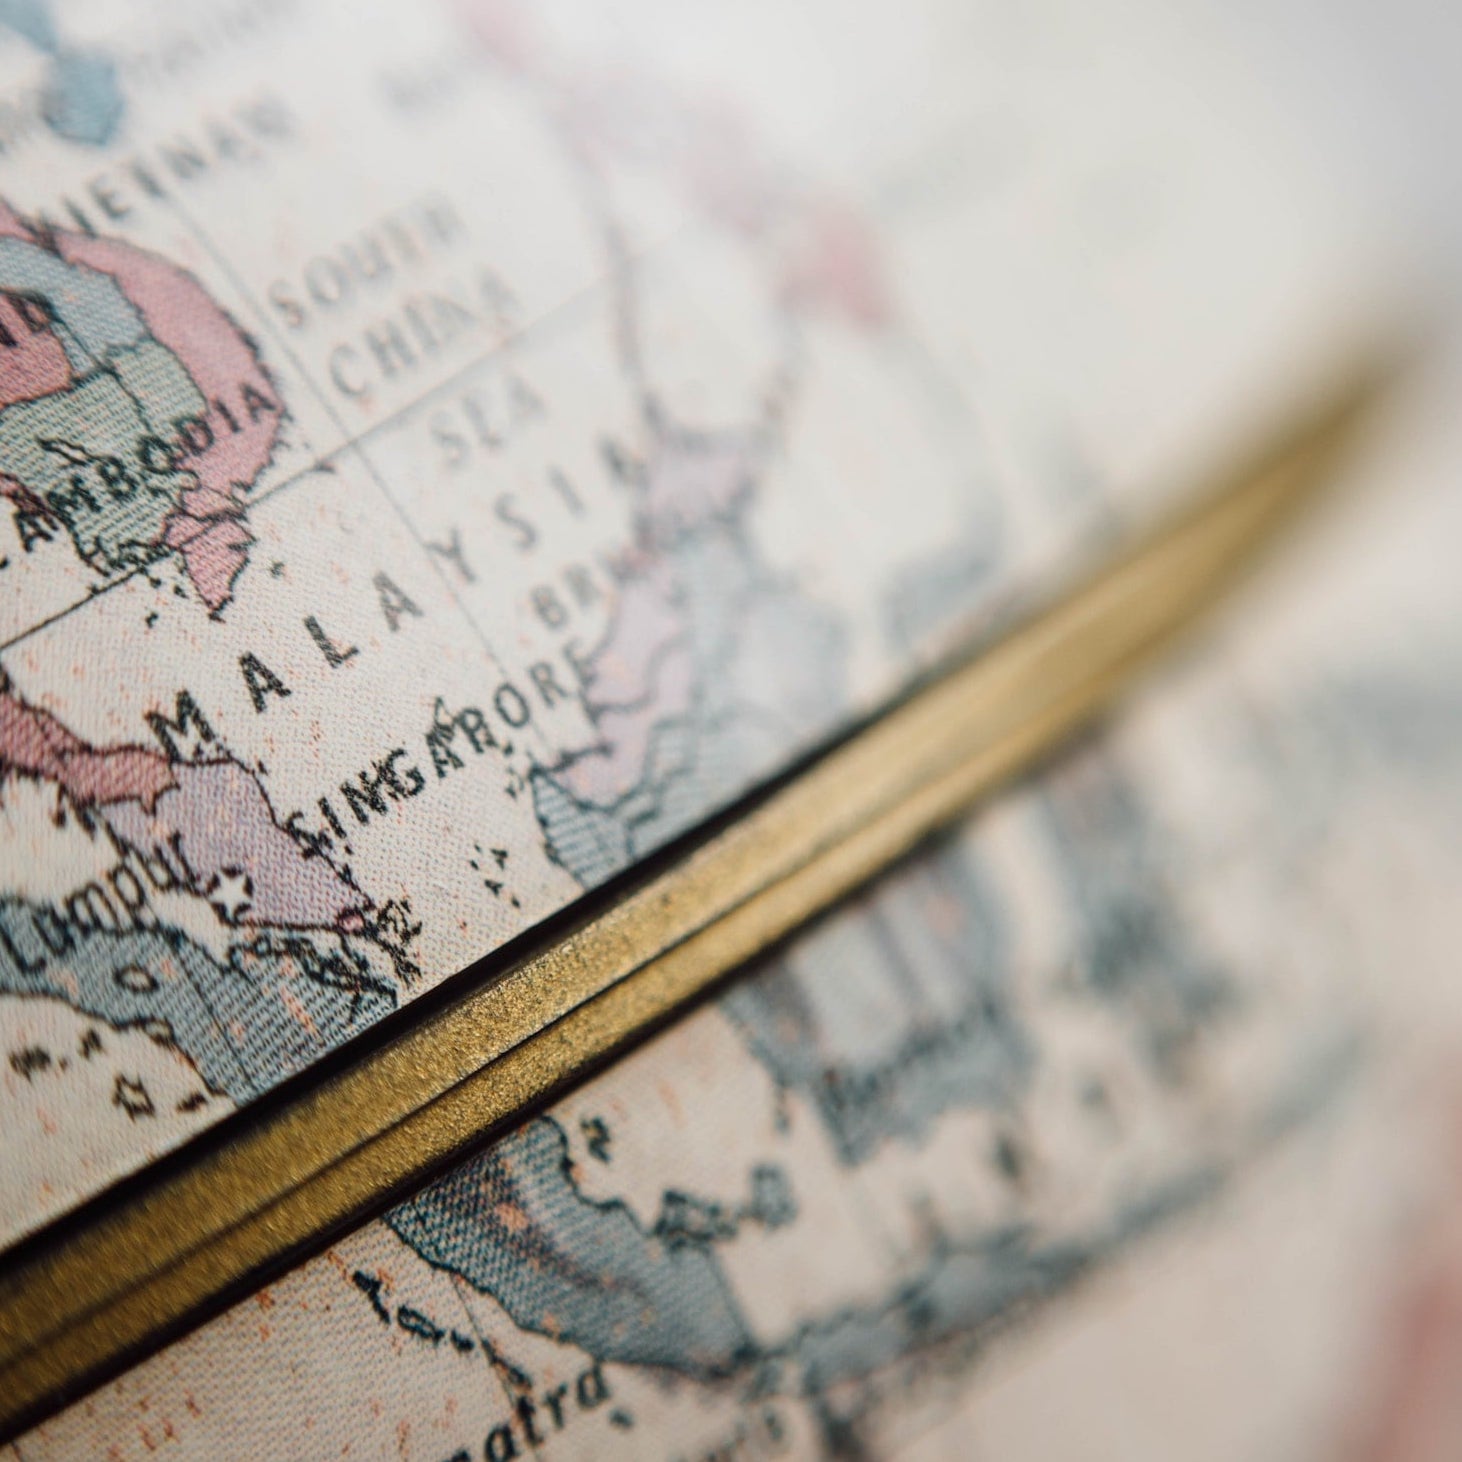
Thinking of sunny holidays in Portugal or adventurous escapes to Patagonia? Well, depending on where you’re starting from, you’re going to need to tackle the airport.
International airport procedures can be long and stressful, especially if you’re a first-time traveller or have anxiety. To better understand the airport process, here’s a step-by-step guide which will help you know what to do and find your plane with ease. Plus, when you’ve done it once there’ll be nothing stopping you from travelling again and again and again…


1. Master the check-in process
For international flights, you should arrive 2-3 hours before your departure time. At the airport, you’ll need to check in; this can be done at the airline desk or online, however consider checking in at the airport for your first time – essentially, this process confirms your booking with the airline.
At the counter, you will:
- Have your passport scanned.
- Receive your boarding passes* and baggage claim card (if you haven’t checked in online and received your boarding pass digitally).
- Weigh bags and hand over any checked luggage (carry-on luggage is subject to size limitations)
*If you need to change planes and have booked flights on separate tickets, you will need to acquire your next boarding pass from the airline’s transfer desk at the following airport! You may also need to collect your checked luggage.
Once you’ve completed check in, follow the ‘DEPARTURE GATES’ sign.
Image source: Contiki
2. Get through the security screening
Security screenings are mandatory. For this process, your items are placed in trays and x-rayed to search for any dangerous goods or prohibited items. Items in these categories differ for each country so it is important that you research custom laws for both your destination and all transit airports. Security queues can be very long, so prep for your screening to be as quick as possible:
- Remove jackets, belts and all metal items
- Empty your pockets
- Make sure your drinking water bottle is empty or it may be confiscated
- Put everything, including documents, into your bag
- Place your LAG* bag and laptop in a separate tray
- Proceed through the metal detector
- Comply with random searches (pat downs, body x-rays, bag searches)
- After security, follow the route to customs!
*LAGs are liquids, aerosols and gels heavily restricted to 100mL/grams or less per item which must be placed in one clear, re-sealable plastic bag. This includes creams, deodorants and hand sanitisers – keep it in hand’s reach so you won’t be digging through your backpack for it.
3. Be ready for the customs and border protection process
At customs, you’ll be identified and reviewed by security personnel. You may be asked to provide specific documents or answer questions relating to your travels. For this process, have ready for inspection:
- Your passport
- Your current boarding pass
- Other relevant travel documents (if required)
- You may initially feel intimidated by border protection officers; they’re trained to notice anything suspicious so answer all questions honestly. Although depending on your location and nationality, this may be an electronic process instead.

Image source: Artur Tumasjan / unsplash
4. Find your gate
In many cases, your gate number will already be printed on your boarding pass. However, both the gate number and terminal can change, so it’s important that you constantly check flight departure screens for updates.
When navigating the airport, signs above will provide directions to your gate e.g. GATES 31-45 with a left arrow. With time to spare, grab something to eat and drink but remember:
- Always find your gate first – the airport may be bigger than expected!
- Check flight monitors regularly
- Update your clock to the local time zone
- Be at your gate for boarding time, NOT departure time!
- Ask airport staff for directions if needed
- After boarding, you’ll be ready for take off!
A group of people navigate the airport by themselves, walking through various terminals.


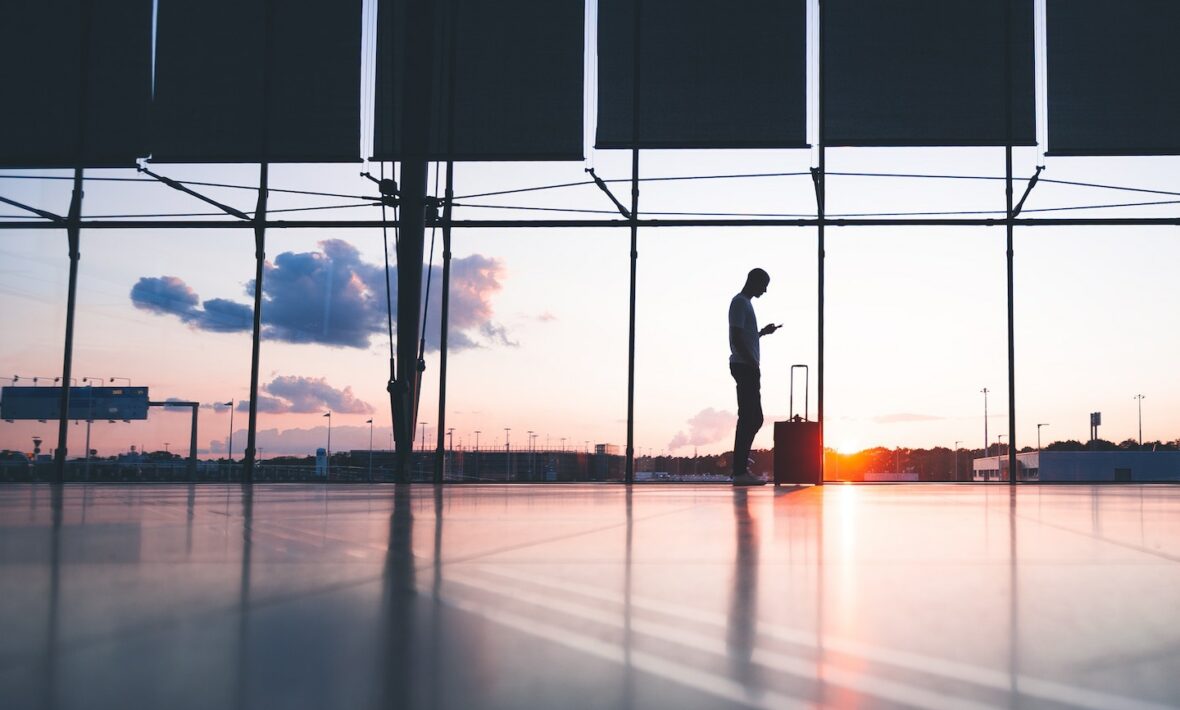
5. Boss your connecting flight (if you have one)
For some destinations, you may need to change flights midway; allowing a minimum of 90 minutes for your layover in case of busy queues, misdirection or delays is a clever idea. When disembarking the plane, you simply need to follow the ‘flight connections’ signs and proceed through security again, but don’t forget:
- If you haven’t got a boarding pass for your next flight, go to the airline transfer desk
- You may need to recollect checked luggage depending on your ticket/airlines
- Some airports may have extra security checkpoints
- Transit visas may be necessary
- Depending on the airport, you may need to proceed through passport control
- Find your gate first and check flight screens
- Laws and regulations in your transit country may be different than home
Image source: Joe Green / unsplash
6. Arrive in style!
All you need to do is follow the ‘BAGGAGE CLAIM’ sign, then go through customs and passport control. Make sure to fill out any compulsory arrival forms, declare goods, have your visa ready (if needed) and pick up any duty-free purchases on your way out.
Practical tips for when you’re flying alone for the first time
1. Ask, ask, ask!
Where’s my gate? Do I need to take my laptop out? Where can I refill my water bottle? Where’s the check-in counter? Your first time travelling alone is guaranteed to come with many questions. But don’t be afraid to ask them.
There are hundreds of new travellers at the airport every day. And there are no stupid questions. Most airport staff are happy to help, and get asked the same questions multiple times anyway (Thank goodness for these gems of humans, honestly!).

Image source: Briana Tozour / unsplash
2. Arrive early
Yikes, we hate hearing that one. But it’s the truth, after all. If you’re travelling alone for the first time, it’s best to arrive earlier than expected. Sometimes the walk to your departure gate never seems to end. Sometimes the queues are longer than you’d expect. Sometimes things just go wrong. And so, sometimes it’s best to have some time on hand to deal with all of it. Plus, if you’ve got some time left, I’ve got three words for you – Duty. Free. Shopping.


3. Keep your tummy happy
Okay. Everyone agrees, right? Things are just easier to deal with after you’ve had a good, wholesome meal. (And when your brain-jogging isn’t competing with a grumbling stomach). So don’t forget to fill up on some good food before you travel alone for the first time.
Don’t worry if you haven’t eaten something before arriving at the airport. You’ll find plenty of great options with varying price ranges to kill your hunger inside. And if nothing else, a good cup of coffee will go a long way to keep you alert for those announcements.
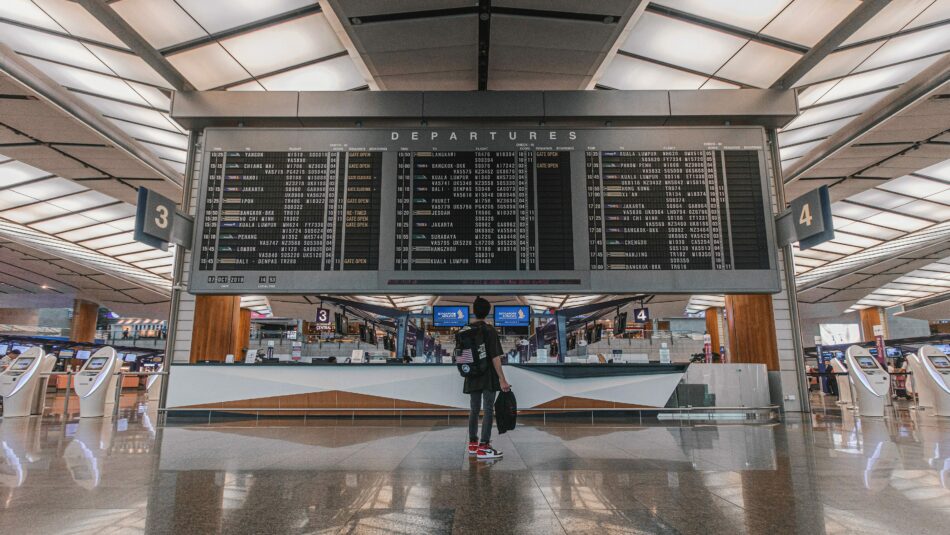
Image source: Daniel Lim / unsplash
4. Charge your phone
Of course, keeping your body charged is important. But don’t forget to charge your phone too! Entertainment, assistance, e-tickets, panic-stricken Google searches (and the occasional text informing your family that everything’s going well) – you’re gonna need your phone. Period. It’s probably a good idea to carry a powerbank with you. But if not, there are usually plenty of USB-charging points all over airports. Either way, you’ll be fine, as long as your phone is with you.
5. Take a deep breath
Firstly, pat yourself on the back. You’re travelling alone for the first time – it’s a big deal! It’s natural to panic. It’s okay to be confused. But don’t worry, you’re going to be just fine. So remember to count till ten, take a deep breath every time you feel your nerves kick in (and Hakuna Matata your way through the airport!)

Image source: Olivia Anne Snyder / unsplash
6. Pack your bags…
Excited? Nervous? Optimistic? Confused? Yeah, travelling alone for the first time really is an emotional rollercoaster – but it’s also one of the most rewarding things you’ll ever do. So pack your bags, grab your passport and get ready for an adventure of a lifetime. Whether you’re heading for a life changing trip to Thailand, or a relaxing time in Greece, you’ll have a blast. And hey, you can always check out our trips to sort out your accommodation, transport, and BFF scene. So all you’ll have to bring is you.
See? It’s not so hard after all! So whether you’re planning to jet off for some Thai Island Hopping or some Simply Italy, you have nothing to fear.