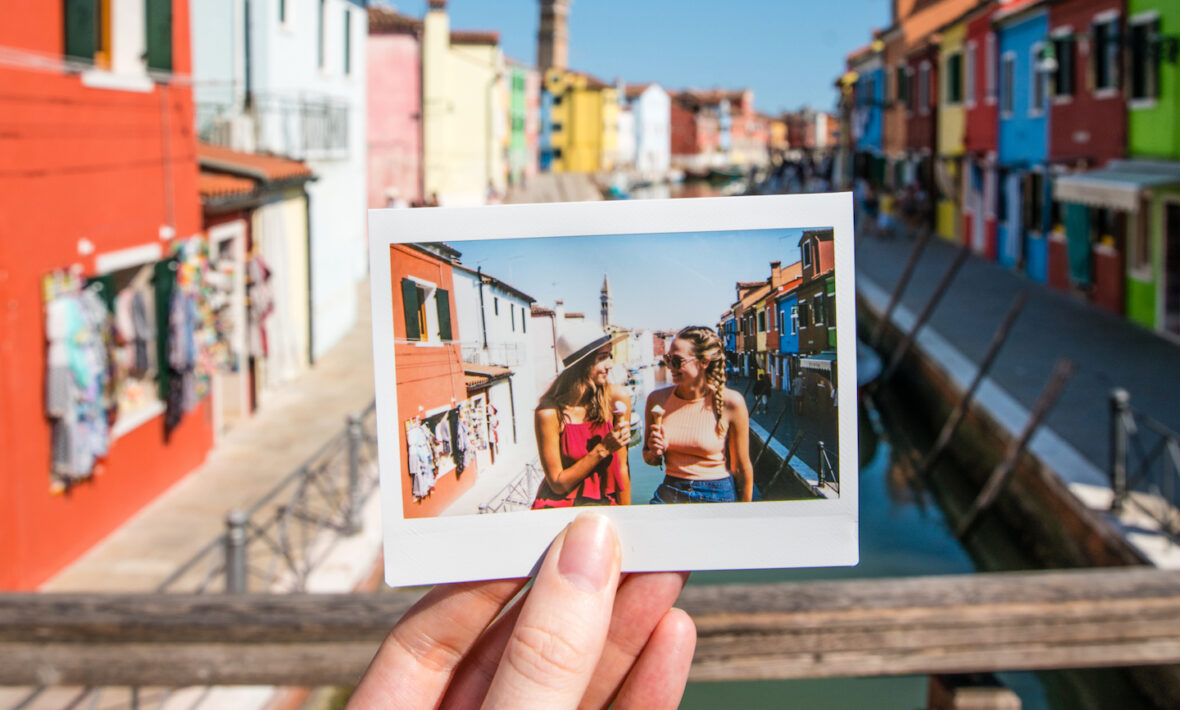
As a professional photographer and avid traveller, one thing I’ve learned over the years is that travel photography can definitely present its own unique challenges. You might be pressed for time, the weather could be bad, location could be crowded with tourists – any number of things can add pressure to getting that perfect shot! So, I’ve compiled some of my tricks of the trade on how to create better travel photos and capture the lasting memories you desire.
1. Get comfortable with your tech
Everyone shoots at different levels! It’s important to understand what device or camera you are shooting on and what its strengths and limitations are. Do you want to shoot on manual or auto? Do you want to work with a DSLR? Point and shoot? Mirrorless? Do you want to shoot Canon, Nikon, Sony, GoPro? Are you an Iphone shooter?
Think before you shoot
You don’t want to be stuck in Petra, or at the top of Machu Picchu and suddenly realize you’re not sure how to take the photo you want. Look at your travel itinerary, plan out how you want to shoot. I normally shoot on manual, however if I know I’m only stopping somewhere very briefly and 1,000 other tourists are lined up to get the same shot, I shoot semi-automatic on shutter speed priority or auto. Figure out what is going to be the best and most comfortable for you! Take your time and practice on your camera before you go.
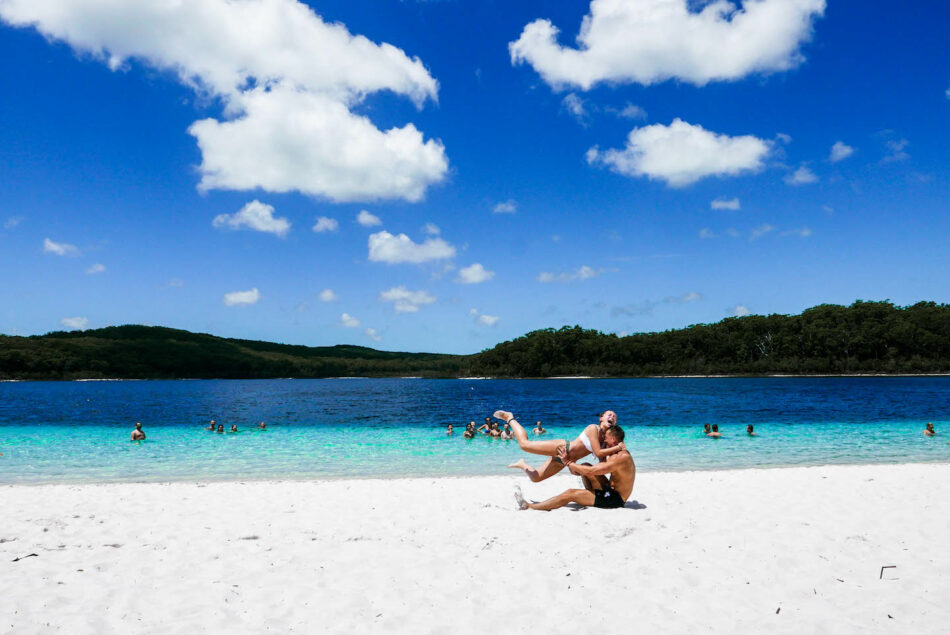
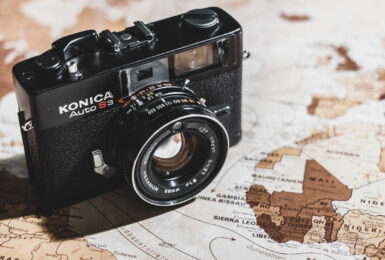
Image source:Ally Perpick Photography

2. Lighting is very important
If you want to know how to create better travel photos, lighting is so key! You have to work with what mother nature is providing for you that day. My lighting hack when I’m on the go is to use the hand trick. Hold your hand up in front of your face and walk around in a circle. You will be able to see where the shadows fall, and where your hand is in complete light. That is where you take the photo! Of course sometimes this can’t be helped and you have to work with what you’ve got.
Test and learn
Use the light metre on your camera to see how bright you should make your image. Some cameras will also have an exposure dial. Just have a play with it. If you want to see your subject clearly, put it in direct light (soft light), or if you want something more dramatic, play around with hard light and work with shadows. Remember; bright, overhead sunlight (aka midday) actually creates shadows on your face. And clouds actually diffuse light to make it all more even. I wouldn’t use flash, unless at night (I personally don’t even use flash when travelling).
Two really special times of day are blue hour (30 mins just after sunset or before sunrise) and golden hour (first hour of light after sunrise or before sunset). You can create some really magical and unique photos during this time!
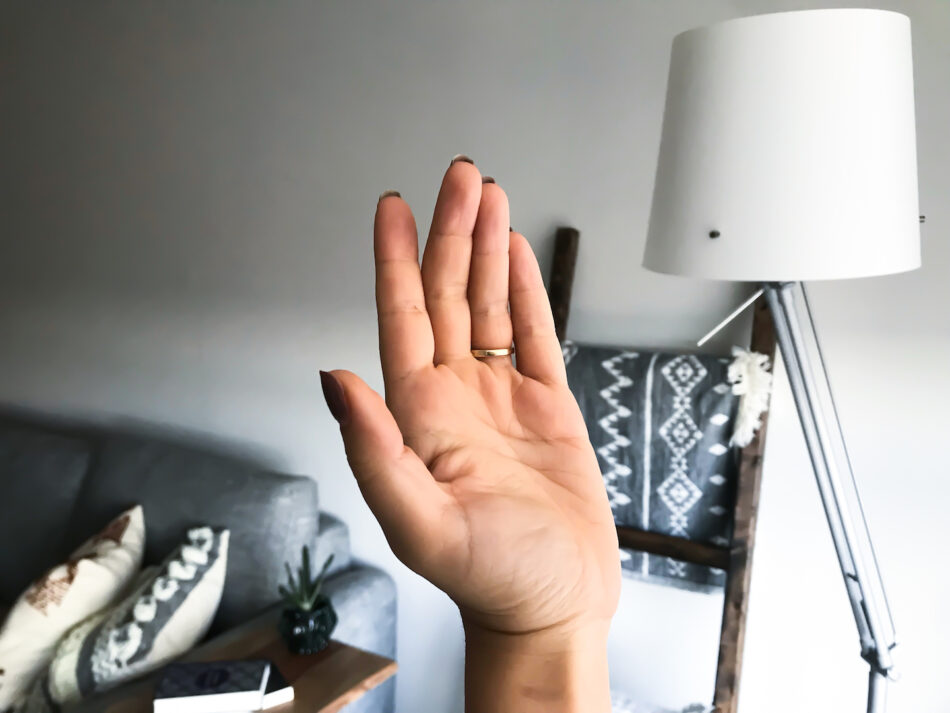
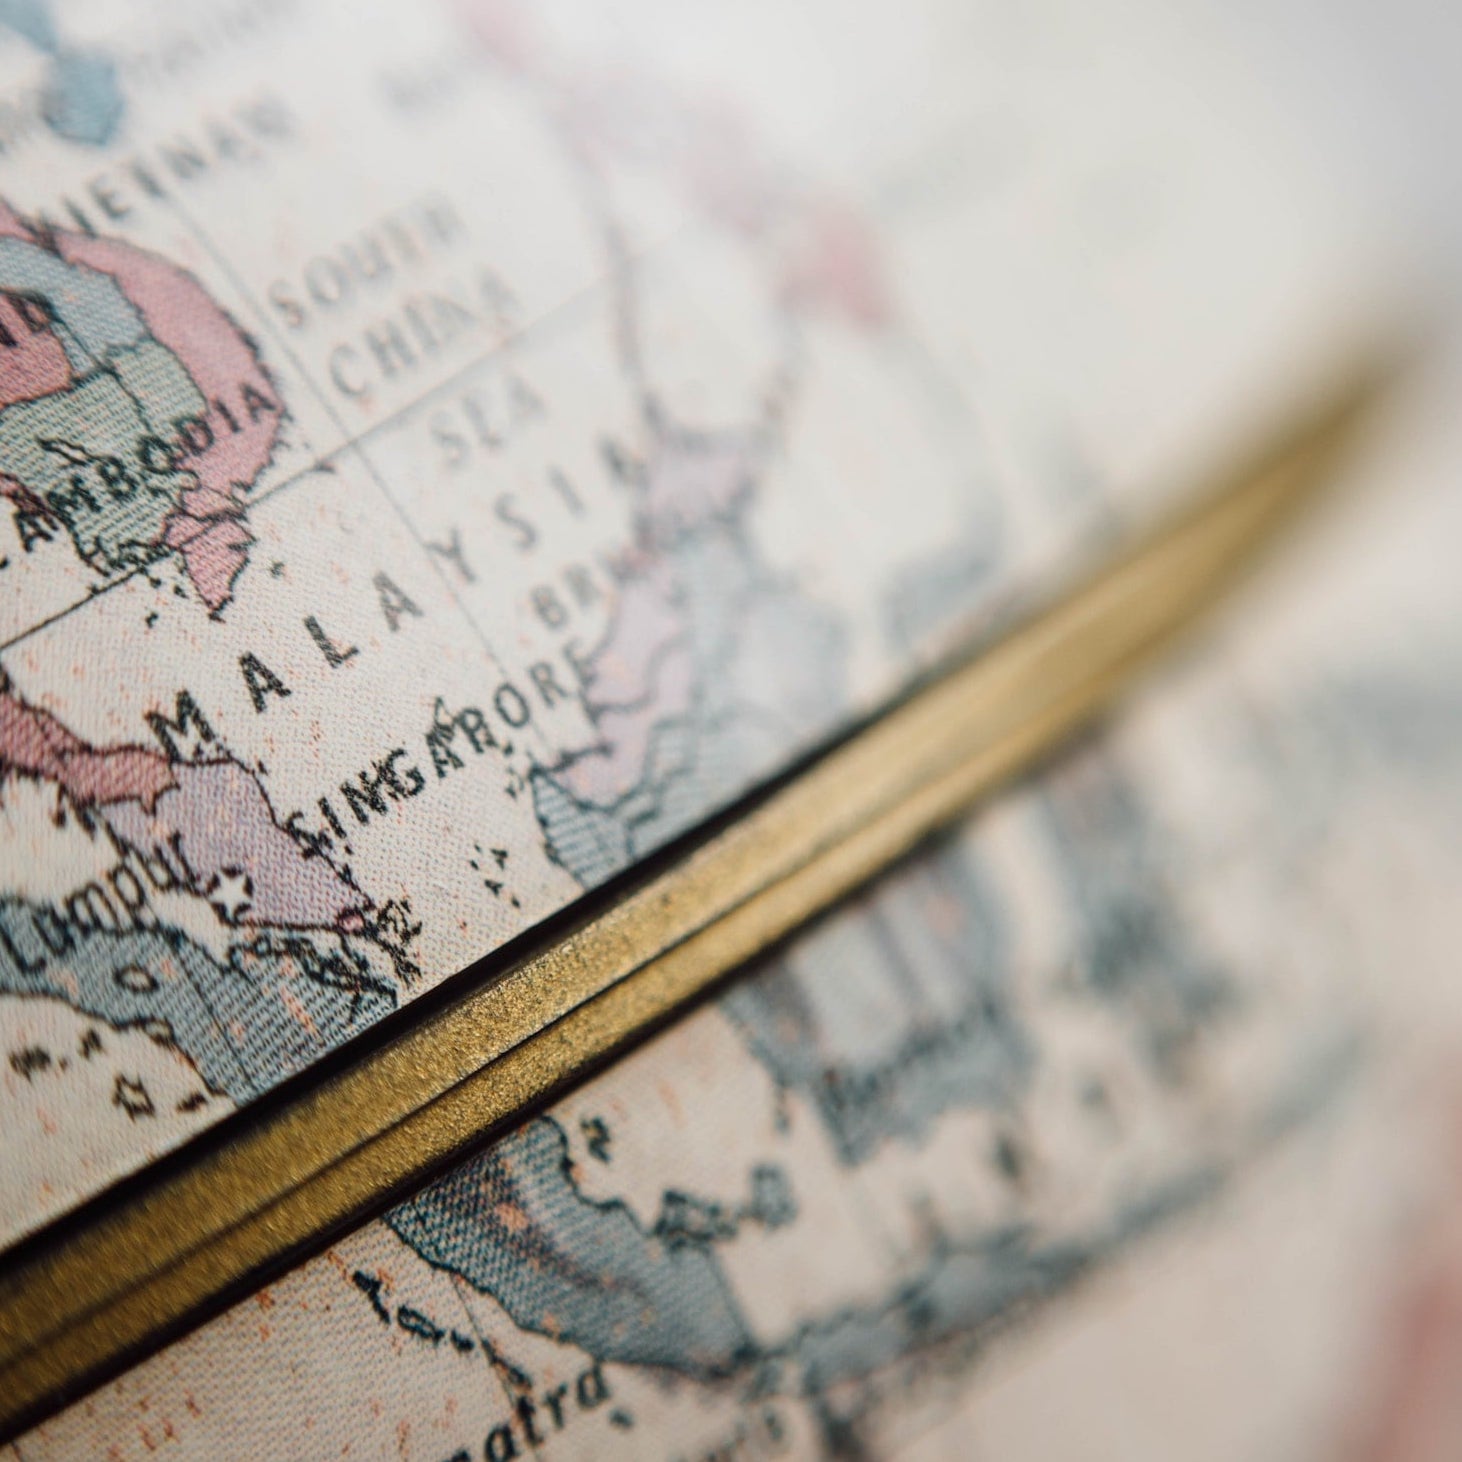
Image source:Ally Perpick Photography


3. Think about extra equipment
There’s lots to consider when planning out what equipment to bring on a trip:
- What is it that you want to shoot?
- Do you want to print the photos, or pop them on social media?
- Do you want to shoot at night?
- How much weight are you willing to carry?
- What’s the weather like where you are going?
- Do you need underwater casing?
I always consider where I’m staying. Hotels generally have higher levels of security, some even have safes. If you’re backpacking or staying in hostels, think about whether you’re comfortable leaving your equipment there. If not you’ll have to keep it on you, so weight will be a factor.
Wildlife vs city vibes
You might also want to consider different lenses! On wildlife trips like safaris or to the rainforest, you may want to capture that cheeky monkey in the tree or a grazing giraffe. For this, I’d suggest a zoom lens (a good 18-200mm or bigger). This way you can get close up, clear pictures from far away. These are heavy though.
For city trips you generally don’t need as powerful zoom. Prime lenses are great, but if you want variety you’ll have to carry a few. If you want to capture those beautiful night scenes you might pack a small lightweight tripod or monopod to stabilize the camera (also handy if you’re travelling alone with nobody around to take your photo), or bring a little speedflash to light it up. If you’re going somewhere rainy, or on the water consider getting a case for your camera, especially if it isn’t weatherproof!
The Contiki kit
Personally, when I go on Contiki trips, I bring my small mirrorless Leica D-Lux, with a 24-75mm lens to capture the majority of my photos, a little polaroid for when I want an instant memory with a vintage-y feel, and a disposable underwater camera. I also almost always get by with a 32G memory card, but if you feel you want more space grab a 64G!

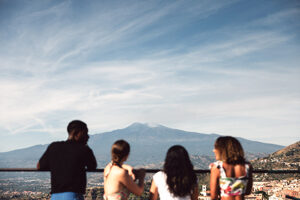
Image source:Ally Perpick

4. Composition is king
Composition is really personal. Everyone has their own eye and way they see the world through their lens. The best way to figure it out is just to get out there and shoot! But there are a few things to consider on how to create better travel photos:
Rule of thirds
Most cameras will have a grid display option. This rule simply states that an image should be divided up into nine sections with two horizontal lines and two vertical lines. The subject of the image should be placed where the lines meet.
Horizon lines
Horizon lines act as a divider in a photograph. You can choose to shoot higher or lower, but the viewers eye will go to the horizon. It is the actual eye level of the person viewing the photograph. So depending on what else is in the picture you can create something really beautiful! Don’t put your horizon line in the very middle of your photograph.
Natural frames
Use anything to naturally frame your photo. And this could be anything – a doorway, the mouth of a cave, two palm trees bending, the options are limitless! Use your surroundings to frame your subject with what’s around it – try to look at the bigger picture and get creative.
Leading lines
This is where you lead your viewers eye into your image by creating an easy path to follow. This could be using a road heading towards a building, or a rope attached to a boat. They also help in creating depth and symmetry within a photo.
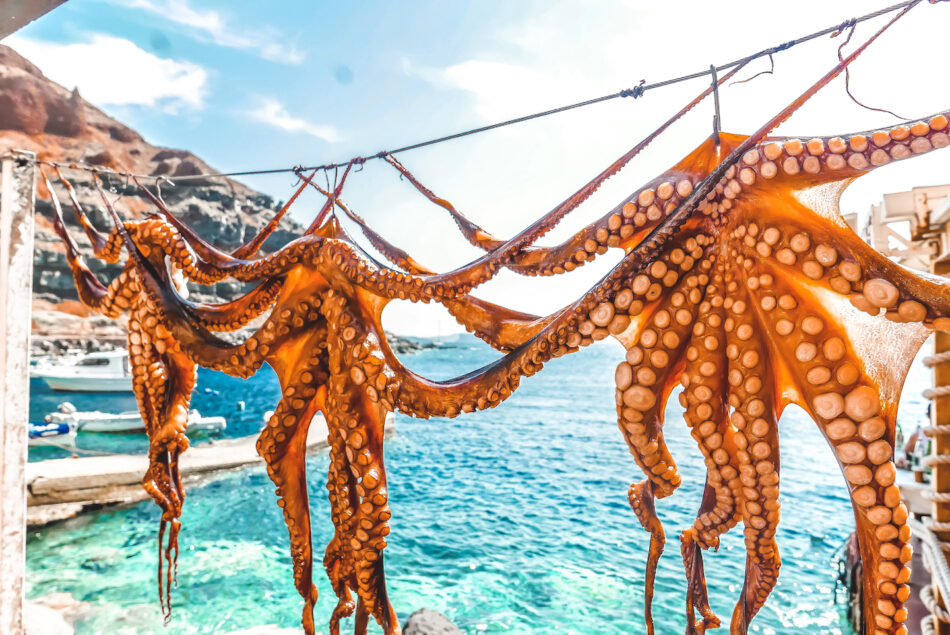
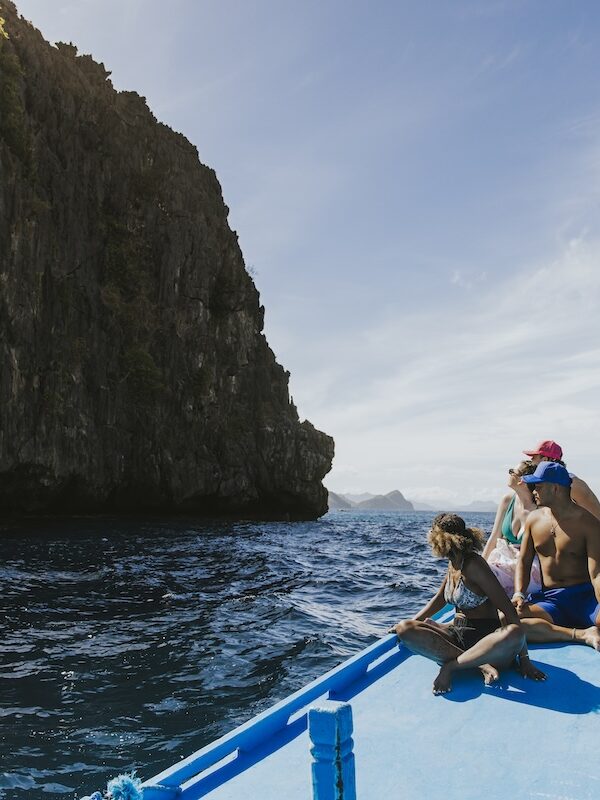
Image source:Ally Perpick Photography
5. Get researching and planning
Do some digging and make a plan. What do you want to shoot in each place you go? Are there places you aren’t allowed to take photos? Are you on a Contiki and are there places you want to see in the city that your tour doesn’t go? Are you going somewhere cold or hot? Batteries die quickly in the cold and you don’t want condensation on your camera if you’re someplace warm. Are there any details you need to know about sites or areas? What kind of story do you want to tell and how best can you show that? Here’s an example of a planning outline:
Barcelona – what photos do I want?
- Sagrada Familia – architecture shot + Instagram shot)
- Gothic Quarter
- Park Güell – once inside there’s no time limit, so detailed shots of mosaics, shot looking over mosaic wall down on Barcelona
- Flamenco dancers
- Spanish cuisine – photos of tapas and paella
- Local shots*
- Candid photos with friends
Of course go with the flow and take lots more photos than just this! But this way, you can plan and make sure to get what you really want.
*If taking photos of locals, make sure to ask permission. If you take the photo first as you’re caught up in the moment, let them know afterwards. If they don’t want you to take the photo, respect that. How would you feel if someone did that to you? If they say yes, try your best to put them at ease, or slightly remove yourself so that you can get that candid moment.
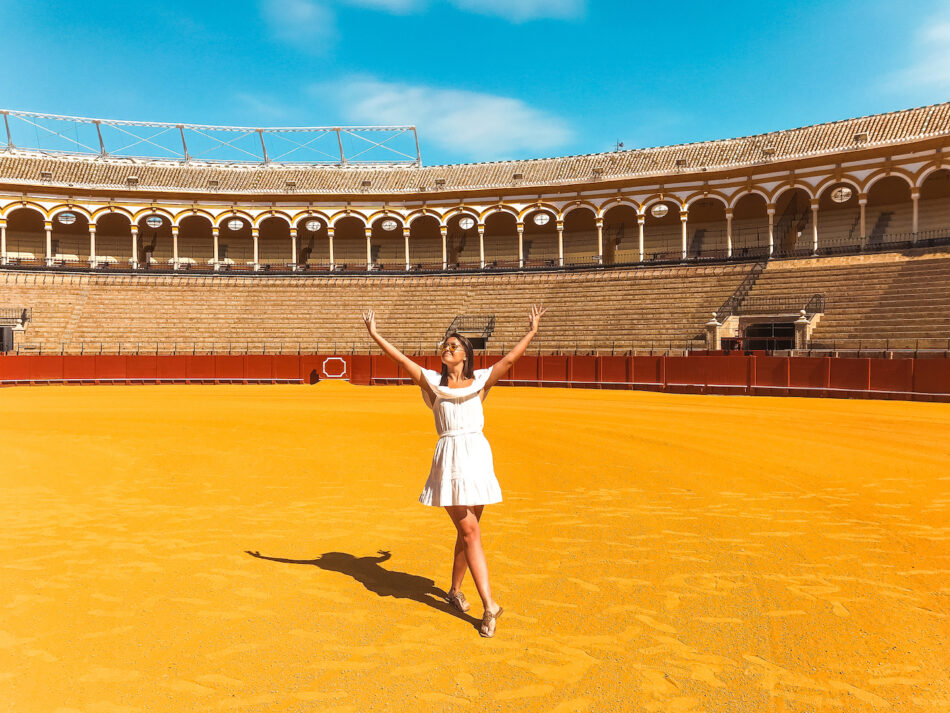
Image source:Ally Perpick Photography
6. Onto the editing stage
There’s no right or wrong way to edit a photo – you can get as creative or minimalist as you like. I like my photos to look vibrant, bright and colourful and have a warmer temperature. I prefer using Lightroom as I can upload all my photos onto it on my laptop, or use the app on the go as I’m travelling.
When editing, never go for extremes. Meaning: don’t bring the highlight levels too low or the shadows too high – this will result in your photo looking flat. Instead, play around with tone curves, temperature, exposure and vibrance.
Presets are great! When you find a look you like, create your own preset. This way you can apply it to other photos as you go. Lots of companies and people sell presets as well, so have a look around. I also think it’s helpful to edit, then go do something else for a while, and come back to the photo with new eyes and see if you like your final product.
If you want photos in black & white, I recommend still shooting in colour. Don’t shoot in B&W. Its so easy to do that in editing, then you have the photos both ways! B&W is also a great way to edit a photo if you feel the original is too grainy.
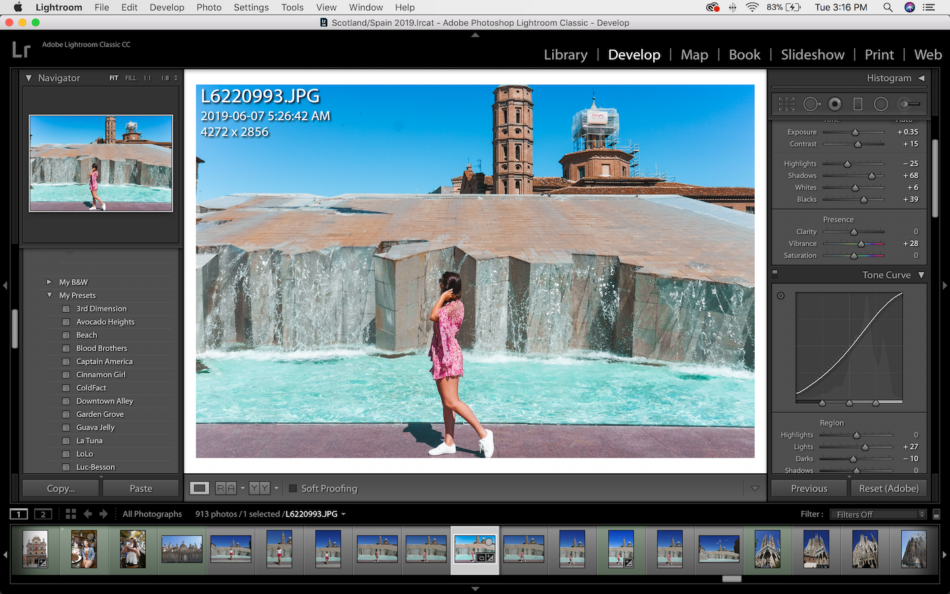
Image source:Ally Perpick Photography
7. Don’t forget to look up from your lens
Travel has taken me to some of the most extraordinary places in the world and introduced me to some of my best friends. When I look back on my photo albums (and I’m old school, so I mean like physical, printed out albums), I’m so happy I took the photos that I did, at the moments that I did. Photos of my friends and I laughing in Santorini, the unrivalled beauty of Whitehaven beach, the Scottish Highlands, or the views from the old walls in Dubrovnik.
But perhaps the most important travel photography tip on how to create better travel photos I can give, is once you’ve taken your photo, put your camera away. We live in a world of overwhelming content, where people take 100+ photos on their phone and never look at them again. Take your photo with purpose, have fun with it and make it special. Photographs are snapshots of our memories. They’re important to have, but you also want to make those memories count. Be present – you’ll never be there, in that moment, as you are again. So, don’t always look at life through a lens, remember to look up!
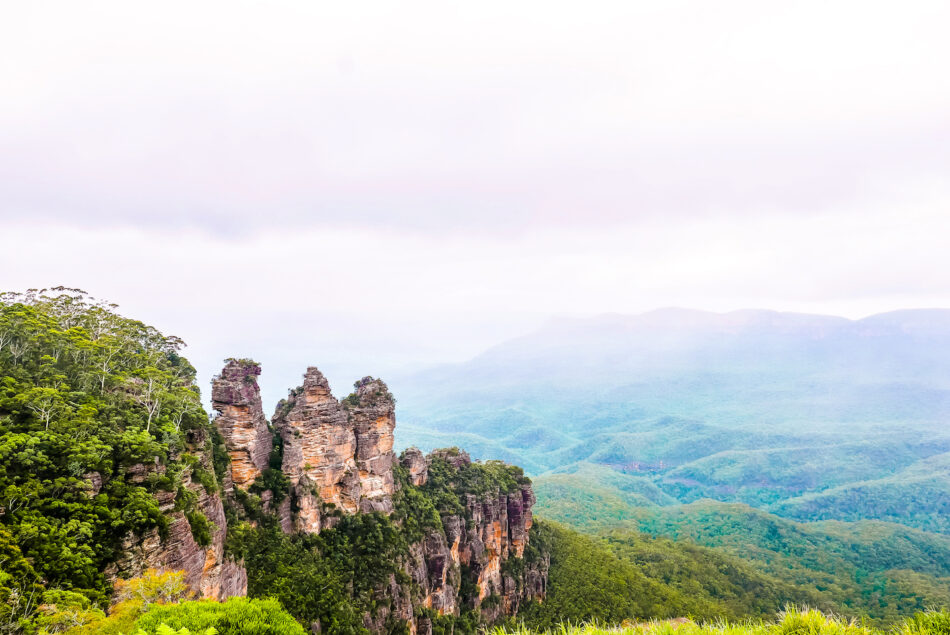
Image source:Ally Perpick Photography